Making a fixture
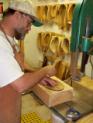
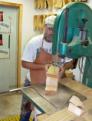
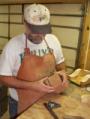
1. Take a square and draw a line on the top and side of a block of wood that you would make a decoy from. Make sure you have at least ½ inch of wood the whole way around your pattern. See photo 1
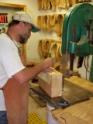
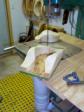
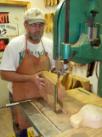
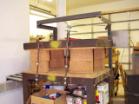
2. Take a block of wood and draw the top and side view as if you were making a wooden decoy. See photo 2 and photo 3
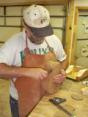
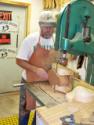
3. Start at the tail to the decoy and cut the whole way around the block. See photo 4
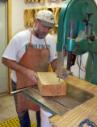
4. Turn the block of wood on the side and cut out the side view. See photo 5 and photo 6

5. Take the block away and keep the scrap on the side. Mount it on a board. See photo 7.
6. At this point you can cut out your cork or wooden blocks. Lay out as many as you can on a sheet of cork using just the top view.
7. Put a block that has been cut out of your sheet of cork and put it in the fixture. Draw your tail on the outside of the fixture. Adjust your saw and cut the location of the tail in the fixture. See photo 8 and 9.

8. Pop out the tail and insert a wooden tail. I make a wedge out off hardboard and use that to push out the cork where the tail is located. See photo 10 and photo 11.
9. Glue in the tail I have a press made so I can do many birds at a time. See photo 12
10. After the glue has set take your decoy and put it in the fixture and cut out the side view. See photo 13
11. If you have any questions call me in the shop 717 266 4330
Mike